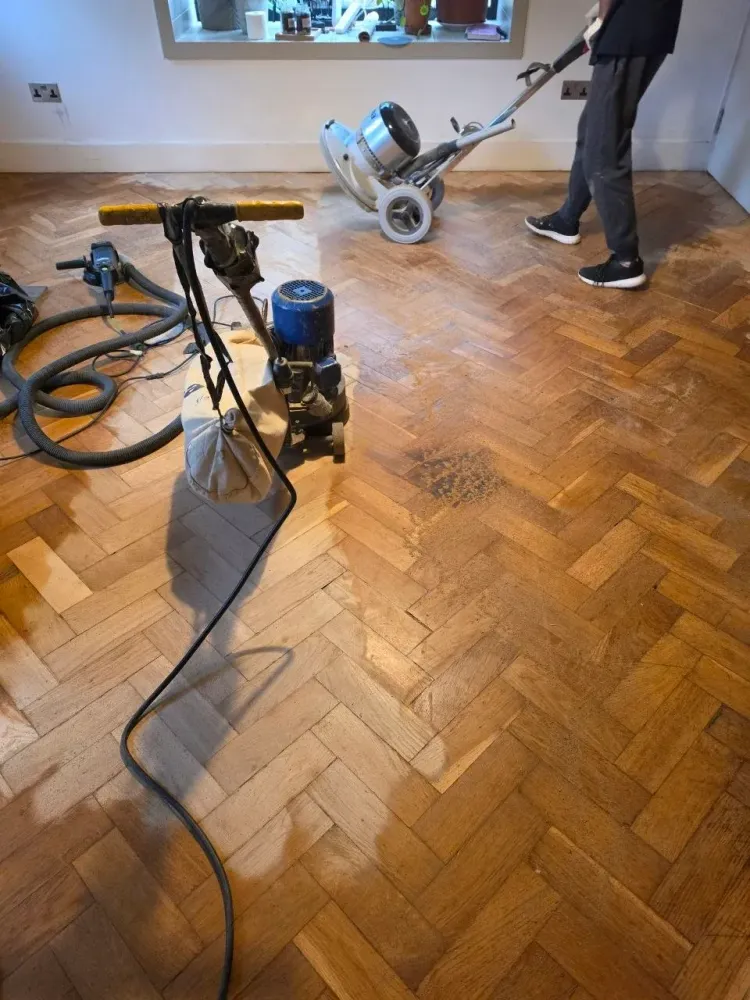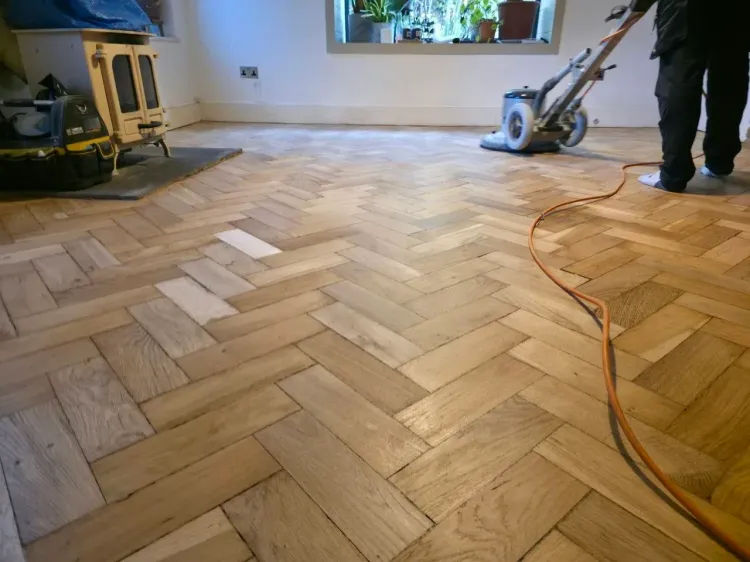
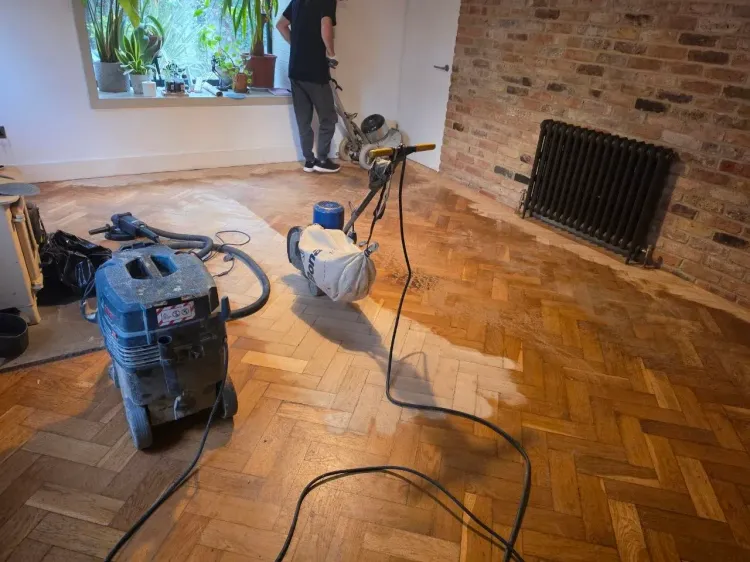
Sanded and unsanded sections of herringbone parquet during restoration

Matching the Colour of a Repaired Wooden Floor

Articles
2026-11-20
New timber in an old floor nearly always looks different at first. What affects the colour match, and how sanding, staining and finish choice can narrow the gap.

A repaired section of wooden floor rarely matches the original exactly on day one. Old timber has been changed by decades of light, air, finishes and wear, and a new or reclaimed board starts from a different point. The difference can usually be narrowed a great deal by choosing the right timber, sanding the repair and its surroundings together, testing a stain where needed and choosing a suitable finish. It is worth agreeing in advance what level of match is realistic.

Why repairs look different

Several things combine to make a repair stand out:

  • Species. Two pale timbers can look similar when raw but very different once finished. Pine, oak, maple and many reclaimed woods each react differently to finishes and light.
  • Age. Most woods change colour over time, often darkening and warming. New boards start lighter and catch up gradually, though not always fully.
  • Grade and grain. Knots, sapwood and grain pattern differ from board to board, and wider or narrower grain reads differently even in the same species.
  • Cut. How the board was sawn affects figure and how it takes stain.
  • Previous finishes and staining. Old floors may carry traces of stain or oil that have penetrated the surface; new timber does not.
  • Dimensions. A board of slightly different width, thickness or profile is more visible regardless of colour.

Choose the replacement timber carefully

The best colour match usually starts with the right material:

  1. Original timber from elsewhere in the property. Boards from inside a cupboard, under fitted furniture or from an area being covered can be moved to the visible repair, with the substitute going in the hidden spot.
  2. Reclaimed timber of the same species and similar age. Often a better match than new timber, but check dimensions, condition and old fixings.
  3. New timber of the same species. Easiest to source, but likely to need the most help to blend.

Bring an offcut or a lifted board when sourcing, and look at the replacement both raw and with a sample of the intended finish.

Sand the repair with its surroundings

A repair that is sanded on its own, with a fresh finish around it, tends to show at its edges. Better results usually come from:

  • sanding the whole room, or at least to a natural break such as a doorway or the end of a board run;
  • fitting the repair first and sanding it level with the surrounding floor;
  • applying the finish to the whole area in one go.

On a lacquered floor, a patch of new lacquer is especially likely to show because sheen and thickness differ. On an oiled floor, local repairs often blend more easily, but colour differences in the timber itself still remain.

Using stain to narrow the difference

Stain can bring a lighter new board closer to darker, aged boards, or tone down contrasts across a floor with mixed timber. Points to keep in mind:

  • Always test. Stain looks different on every species and even on different boards of the same species. Test on offcuts and, where possible, on an inconspicuous part of the actual floor, with the finish applied over the top.
  • Stain colours the timber, it does not change the grain. A board with a very different grain will still read as different.
  • Staining only the repair is risky. It can be done, but a stain that matches when wet may look different once the finish has cured. Staining the whole floor a shade that suits both old and new timber is often more forgiving.
  • Natural ageing continues. A stained new board and an old board will both carry on changing, though not always at the same rate.

Our floor staining service page explains how colour options are tested before work starts.

Choosing a finish that helps

Some finishes warm and deepen the colour of timber more than others. On a floor with a mix of old and new boards, a finish that adds a little warmth can make differences less obvious than a very clear, "raw-look" finish. Sheen matters too: matt and satin finishes tend to hide small differences better than gloss. Our guide to oil or lacquer after sanding compares the main options.

Setting expectations

Before a repair, agree:

  • what timber will be used and where it comes from;
  • whether the repair will be sanded and finished with the rest of the room;
  • whether a stain test is included;
  • what level of difference is acceptable on day one and how the colours are likely to move over time.

A good repair aims to be unobtrusive in normal light. Expecting it to be invisible from every angle on the first day usually leads to disappointment.
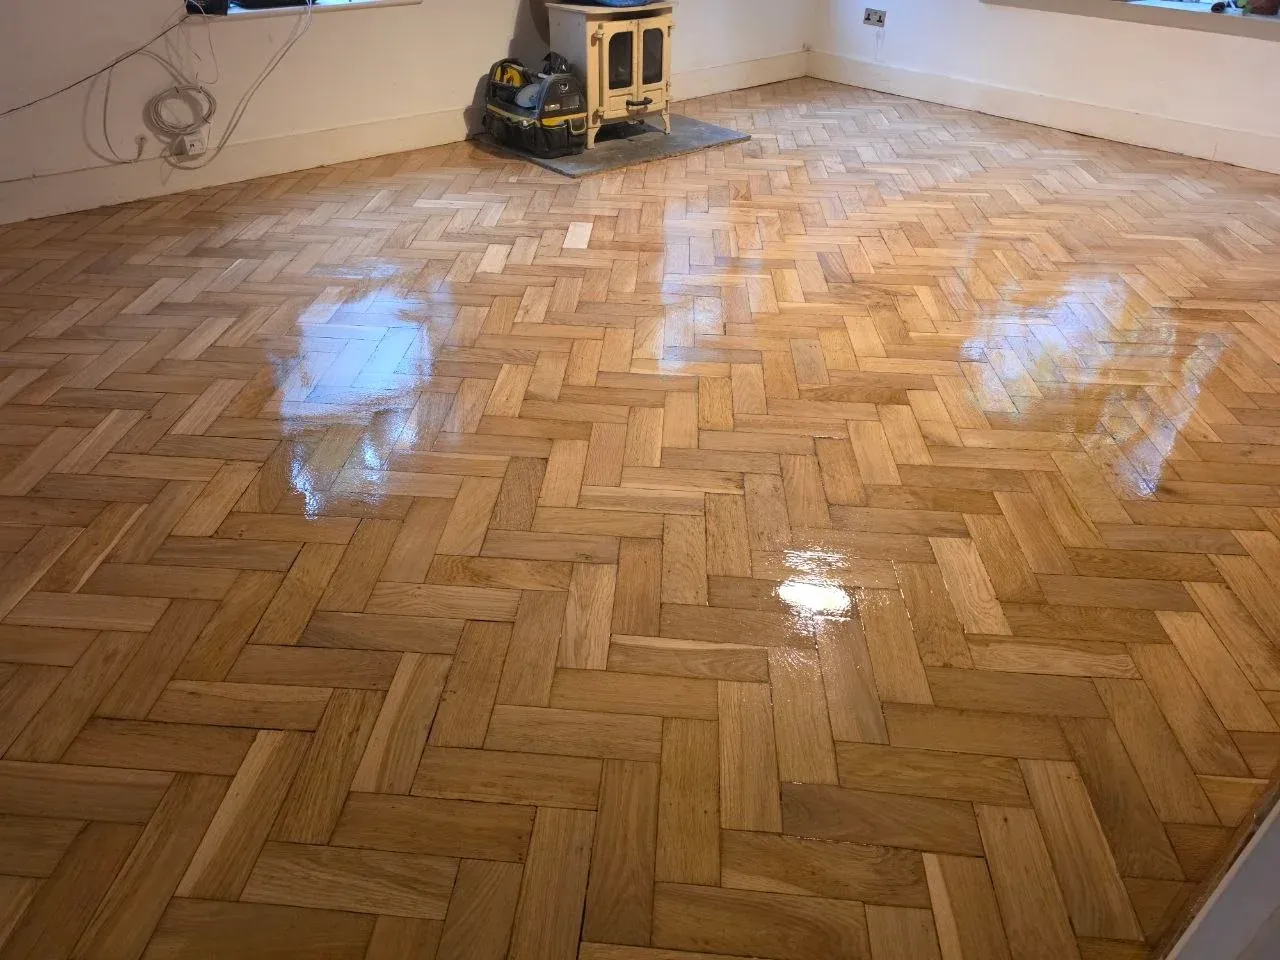
Herringbone parquet flooring with a newly applied finish

The appearance of a herringbone parquet floor after finishing.

Frequently asked questions

Will a new board ever match the old floor completely?

It can become very close as it ages, especially if it is the same species and the whole floor is finished together. A perfect match from day one is unusual.

Can I stain just the repaired section?

You can, but it is harder to get right than staining a whole room. Test thoroughly and view the test with the final finish applied.

Is reclaimed timber always better than new?

Often, for colour and character, but only if the species, size and condition are right. Poor-quality reclaimed boards can create more problems than they solve.

Planning a repair

Browse our wood flooring projects for examples of restored floors and finished timber surfaces.

If you are planning a repair and are concerned about colour, contact us to discuss matching the timber. Describe the existing boards and the repair area; we can arrange how to share daylight photographs. Our wood floor repairs and floor staining services cover relevant restoration options.
Latest Blog Post