Before sanding floorboards uncovered beneath carpet, establish what the floor is, whether it is stable and what previous alterations have left behind. Dirt, nail holes and a patchwork of colours do not automatically mean the boards need replacing. Equally, an attractive surface does not prove there is enough sound timber for sanding.
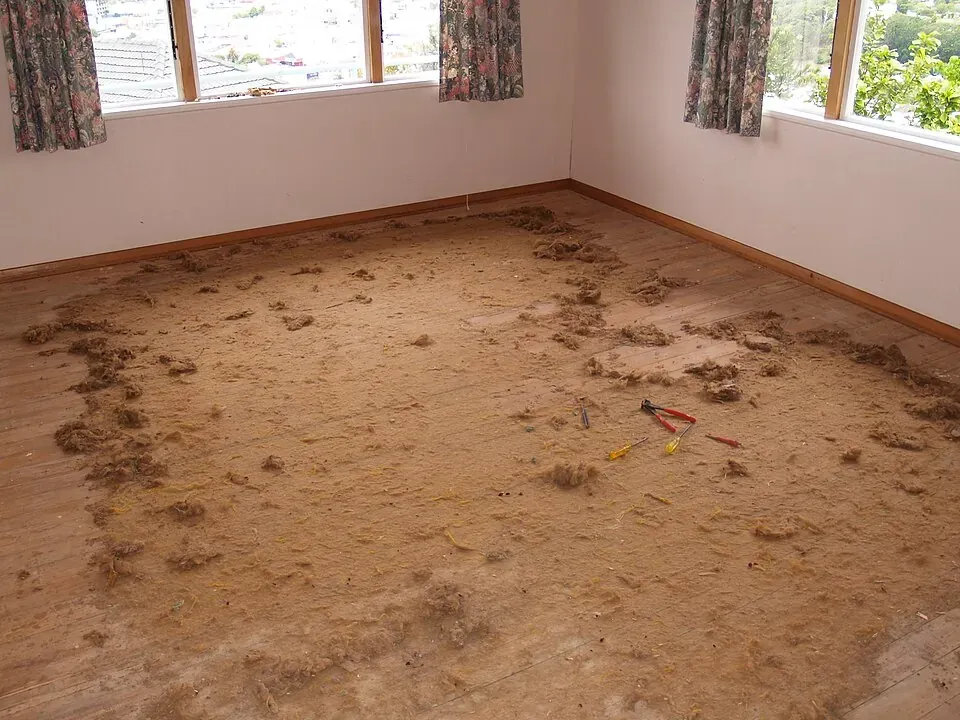
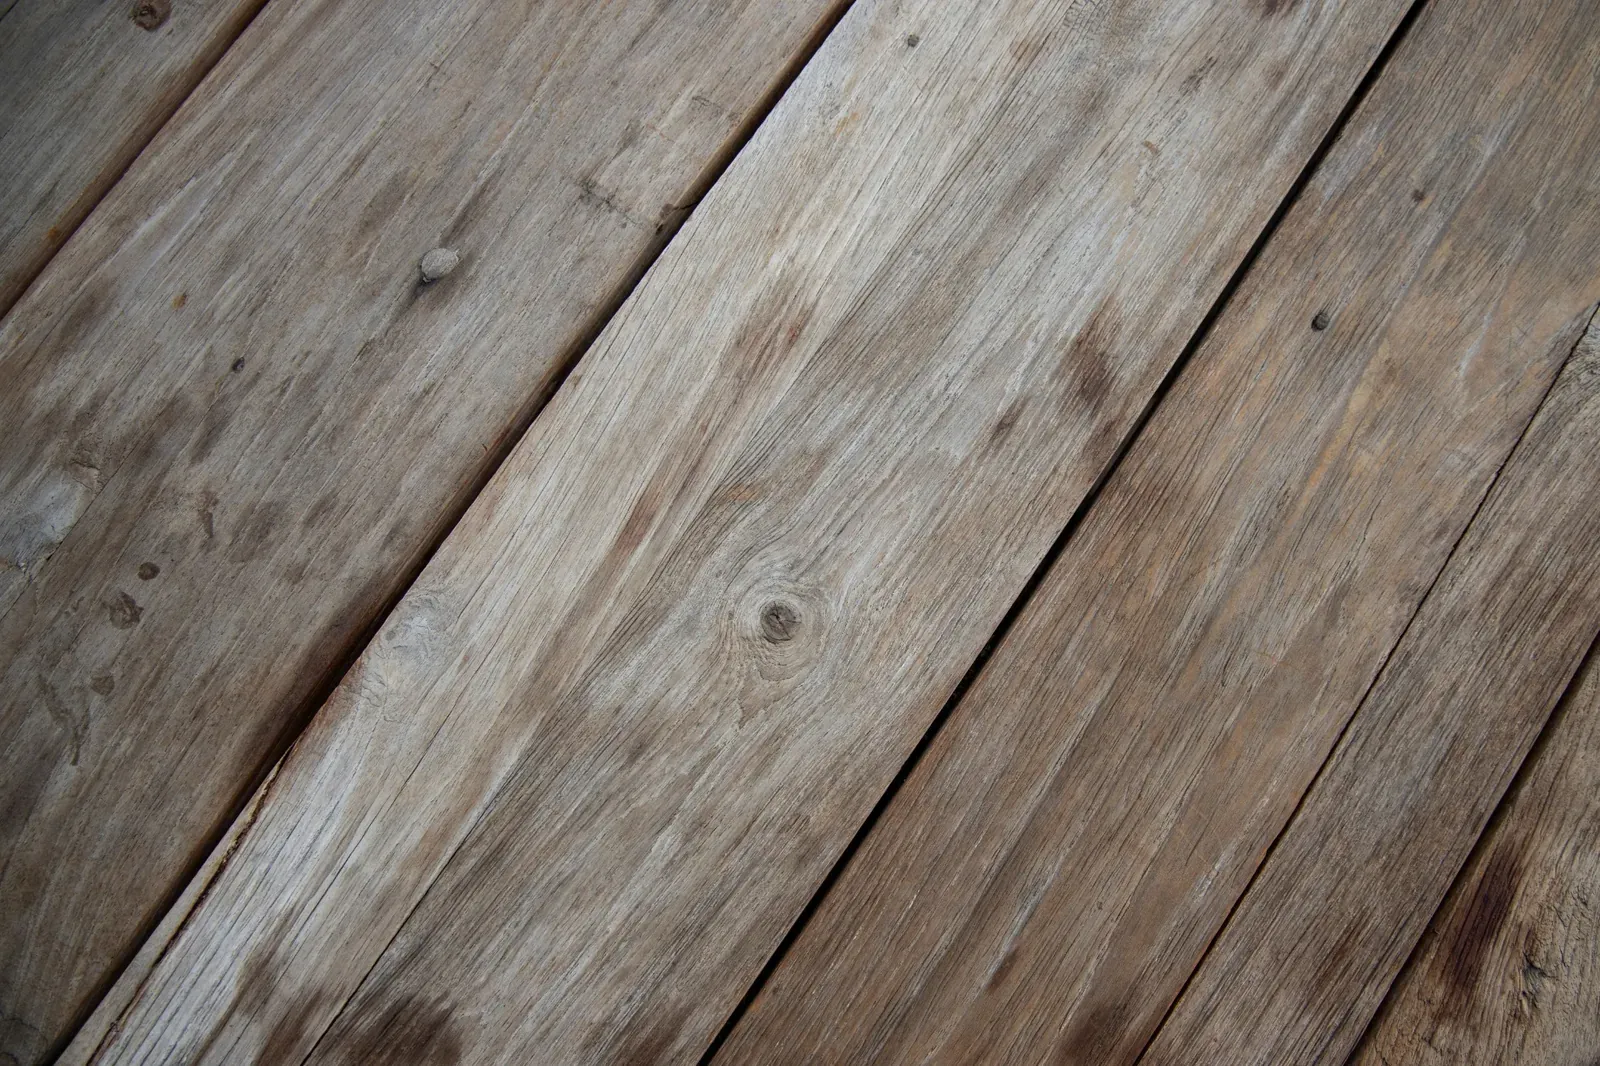
Cover photograph: Stug.stug on Wikimedia Commons, licensed under CC BY-SA 3.0. Image cropped, resized and converted to WebP. The image illustrates timber floorboards after carpet removal; the timber species, age and location are not verified.
Treat the first inspection as a way to record the floor's condition. It should help you decide what needs assessment before choosing a finish or committing to exposing the boards permanently.
First, identify what you have uncovered
Pine and other softwoods occur in many older British floors, but the age of the house does not establish the species or age of every board. Repairs, extensions and service installations may have introduced different timber or sheet materials.
Look across the whole room. Are there continuous boards, sections cut into short lengths, or patches around a former hearth? Are the surfaces all at a similar height? Photograph these differences before cleaning or moving anything else.
The visible timber may have served as a base beneath floor coverings rather than a uniformly finished decorative floor. Original character can include colour variation, old fixing marks and wear. Decide which features you would be happy to retain instead of assuming the aim must be a perfectly new-looking surface.
Make a room-by-room condition record
Use one overview photograph and several close-ups for each room. Include a ruler beside a gap or damaged area if it can be placed safely without disturbing anything.
| Check |
What to record |
Why it matters |
| Fixings and carpet grippers |
Raised nails, staples, gripper strips and damaged edges |
Removal and preparation may affect fragile timber |
| Board ends |
Splits, short patches and cut sections |
Some may need repair or assessment of support |
| Movement |
Squeaks or visible movement during normal use |
Surface treatment will not fix underlying instability |
| Stains and residues |
Location, extent and any known leak history |
Different marks require different investigations |
| Gaps and levels |
Where gaps occur and whether boards are uneven |
Filling and sanding are not universal solutions |
| Previous work |
Replacement boards, access cuts and old filled joints |
Earlier alterations can affect the restoration plan |
Do not walk repeatedly over a soft or visibly unstable section to test it. Keep access clear and arrange an inspection.
Check nails, staples and damage near the edges
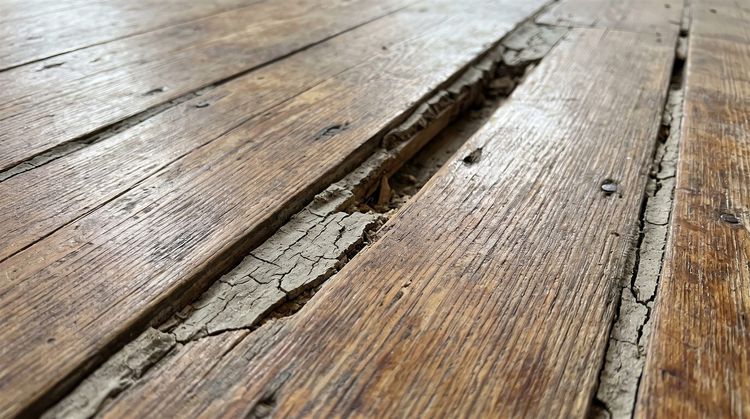
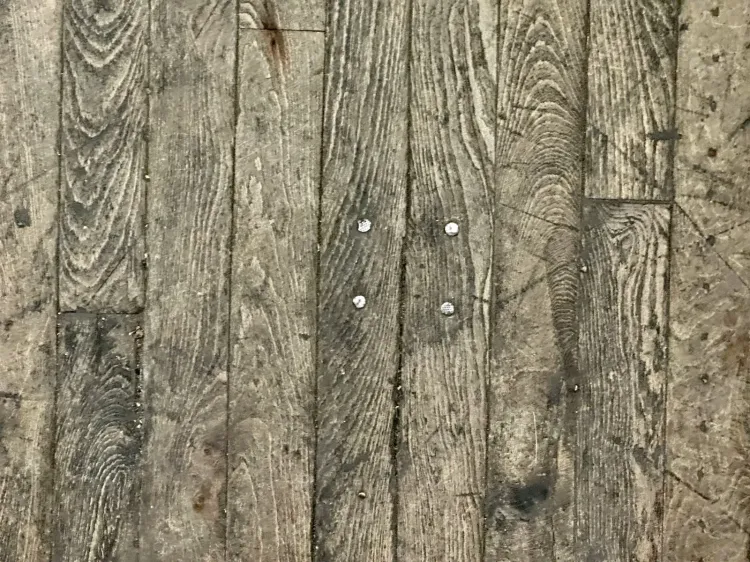
Carpet grippers and staples may leave punctures, splits or chipped edges. Their presence does not establish whether the whole board is unsalvageable. The depth and location of the damage matter.
Avoid levering against a delicate board face or pulling indiscriminately at old fixings. The SPAB's timber-floorboard advice favours retaining historic material and keeping lifting to a minimum. A careful repair can be more appropriate than replacing a board simply because it carries old marks.
Any protruding metal must be dealt with as part of professional preparation before sanding. Do not assume all visible nails can safely be driven deeper: the floor's construction and any services underneath need consideration.
Distinguish stains from unidentified materials
Dark patches may come from old coatings, moisture, metal reactions or other contamination. A photograph alone cannot establish which. Sanding may improve some surface discolouration, but deeply penetrated marks can remain.
If you uncover old tiles, backing material or unfamiliar adhesive, do not immediately scrape or sand it. HSE identifies some older floor coverings and mastics as possible asbestos-containing materials. Appearance alone cannot confirm their composition; arrange appropriate assessment before disturbance.
Old paint also deserves identification and a suitable removal plan before abrasive work. The useful question is not simply whether a machine can remove the material, but whether removal is appropriate and how it should be carried out.
Look at gaps, squeaks and uneven areas together
Gaps may reflect movement rather than missing material
Timber changes dimension with moisture conditions. Some gaps may vary seasonally; others relate to old shrinkage, damage or alterations. Record their position and ask whether the boards are stable before discussing filling.
Filling every visible gap is not automatically desirable. Required movement allowance must remain, and a filler cannot repair a loose support.
A squeak needs its own explanation
Movement at a fixing, between boards or in the supporting floor can cause noise. Arrange investigation before sanding so that agreed repairs happen before the new finish is applied.
An old floor need not be perfectly flat
Do not assume a dip or sloping room can be made level by removing more timber. Excessive sanding can sacrifice sound material without addressing the underlying geometry. Ask which irregularities are stable features, which need repair and which merit further building investigation.
Can these floorboards be sanded?
Suitability depends on the remaining usable timber, previous sanding, joints, fixings, stability and the significance of the original surface. Total board thickness alone does not answer every question: the weakest or most worn area may set the limit.
Historic surfaces require a particularly cautious approach. SPAB warns that sanding can remove significant original fabric and weaken boards. Where preservation matters, seek advice about retaining or carefully treating the surface before assuming machine sanding is appropriate.
For suitable floors, professional wood floor sanding may form part of the restoration. It should follow the assessment and agreed repairs. No method can guarantee removal of every deep stain, dent or uneven patch.
If the uncovered flooring is a later engineered product, check its remaining real-wood layer and manufacturer's guidance. Some thin-veneer floors cannot be machine sanded. Our guide to assessing damaged wooden floors explains this distinction.
When should individual boards be repaired or replaced?
Localised damage does not necessarily justify replacing the whole room. A damaged end or isolated split may be suitable for repair; a badly deteriorated section may need compatible replacement timber.
Matching involves more than finding something labelled pine. Board dimensions, profile, grain and condition all affect the result. Reclaimed timber is not automatically a perfect match, and new work may remain visible after finishing.
Discuss local wood floor repairs before deciding on a complete replacement. If investigation finds widespread deterioration or inadequate remaining timber, preserving the boards under a suitable covering or replacing affected areas may be more appropriate than sanding.
Restoration is most rational when it retains useful, sound material and provides a serviceable floor. Compare the actual repair scope, access, finish and intended use; do not assume it will always be cheaper than replacement.
Choose a finish with realistic expectations
Test the proposed finish on representative timber after appropriate preparation. Old pine, replacement boards, filled areas and worn edges may take colour differently. A clear coating can also alter how warm or dark the wood appears.
Consider sheen, cleaning requirements and future maintenance as well as colour. A protective finish does not make a softer timber immune to dents. Our explanation of the Janka hardness scale distinguishes timber indentation resistance from the performance of its coating.
Ask for product-specific drying, furniture and rug instructions. The room is not ready for unrestricted use merely because the final coat looks dry.
Frequently asked questions
Are floorboards under carpet always original Victorian pine?
No. The building's date does not identify every layer or repair. Timber species, construction and previous alterations need checking.
Do black marks mean the floor has to be replaced?
No. Their cause and depth must be assessed. Some are cosmetic; others accompany moisture damage or unidentified residues. Avoid promising removal before investigation.
Should I remove every board to inspect underneath?
No. Unnecessary lifting can damage old timber. Discuss targeted access with a suitable professional where inspection is needed.
What to send for an assessment
Provide your London postcode, approximate room sizes, photographs and details of known leaks or alterations. Explain whether you want to retain the old floor's visible character or prefer a more uniform appearance. Those choices help define a realistic restoration brief before work begins.